Default roles and permissions explained
Last updated: October 13, 2026
Every person in your workspace has a role, and that role controls what they can see and what they can change. This article covers the four default roles, how to check what someone else sees, and how to give one person access to a single simulation or assignment.
Where roles are set
Go to Settings → Users.
Find the person's name, their current role is shown next to it.
Click the role menu next to their name to change it. The same menu appears when you invite someone new.
If your account uses single sign-on (SSO), the in-app Invite and Import options are turned off. Add people through your identity provider instead.
Workspace roles at a glance
Role | Best for | Content (simulations, scorecards, assignments) | Quality area | Reporting | Settings & integration access |
|---|---|---|---|---|---|
Admin | Account owners | Manage everything | Manage | All reporting | Yes |
Trainer | Training builders | Manage training content, scorecards, personas, assignments | No | Training reporting | No |
Admin (read only) | Stakeholders who only need to look | View only | View only | All reporting | No |
Learner | People being trained or assessed | Their assigned content only | No | Their own results only | No |
Admin is the only role that can change account settings and integrations.
Group lead is set on a group rather than given as a role. Group leads can see the learners and the reporting for their groups. How to create and manage groups covers how to set one up.
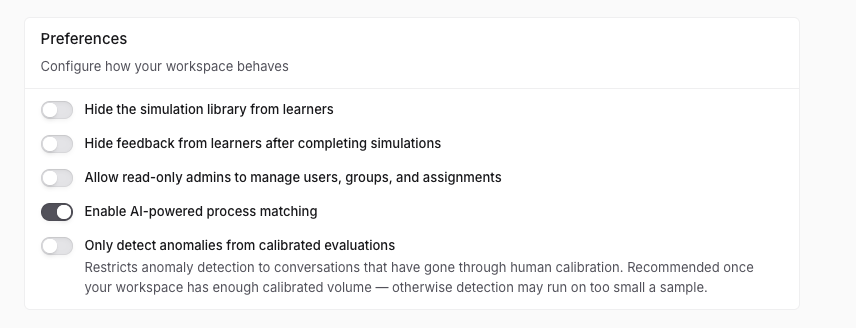
Admin (read only) does not see Settings by default. If you need one to, turn on Allow read-only admins to manage users, groups, and assignments in account settings.
These four roles are the same in every Solidroad workspace, so they cannot be edited or deleted. If none of them fits a job on your team, you can build a role of your own with the exact permissions you choose. Custom roles explained covers what they can do and how they differ from the defaults.
View as user
Learners see only the simulations and assignments given to them, so their workspace looks very different from yours. To check what someone else sees, use View as user.
Click View as user next to your avatar at the bottom of the left-hand sidebar.
Search for the person by name or email, or open one of the groups listed to pick someone from it.
Click View as user.
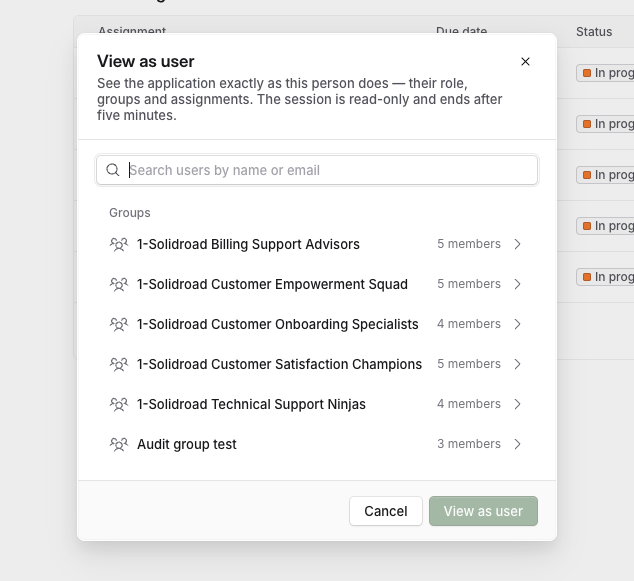
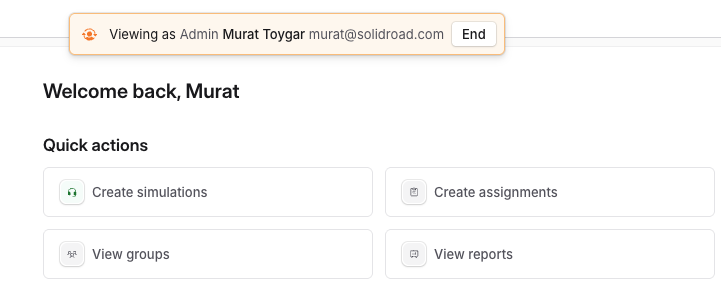
You then see the application as that person does, with their role, their groups and their assignments. A banner at the top of the screen shows whose view you are in.
The session is read-only, so you cannot change anything while you are in it. It ends on its own after five minutes, or you can click End on the banner to come back to your own view sooner.
Links to Training pages no longer include your role. One link works for everyone on your team, and each person sees the version of the page their role allows. See Solidroad links no longer include your role.
Hide learner-facing content (optional)
You can control what learners see from Settings → General → Preferences. These are account-wide settings, off by default, and only an Admin can change them.
Hide the simulation library from learners stops learners from browsing all simulations. They will still see anything assigned to them.
Hide feedback from learners after completing simulations keeps scores and feedback private until you are ready to share.
Allow read-only admins to manage users, groups, and assignments lets your Admin (read only) users open the simulation library and Settings and work with assignments.
Give someone access to one simulation or assignment
You do not need to make someone an Admin to give them access to a single piece of content. Create an assignment for it instead. Creating assignments requires the Admin or Trainer role.
Go to Assignments.
Create or edit an assignment and add the simulation.
In the Users and Groups section, use the Select users... field to add individual people, and the Select groups... field to add whole groups. You can target groups and individual people in the same assignment.
What happens next
Changes to roles and settings take effect the next time the person loads their dashboard. If someone reports missing access, check their role in Settings → Users.
Related articles
If you have any further questions, contact the Solidroad team via the Help tab in the platform.