How to create an assignment
Last updated: September 14, 2026
An assignment is how a simulation reaches your learners. This article walks you through creating one: naming it, choosing who gets it, adding the simulations, and saving it so it is either live straight away or scheduled for a start date. At the end, your learners will see the assignment in their list.
Before you start: you need at least one simulation, and ideally the groups you want to assign to, because assigning to a group means the training is already there when you add a new joiner.
1. Follow the steps below to create an assignment:
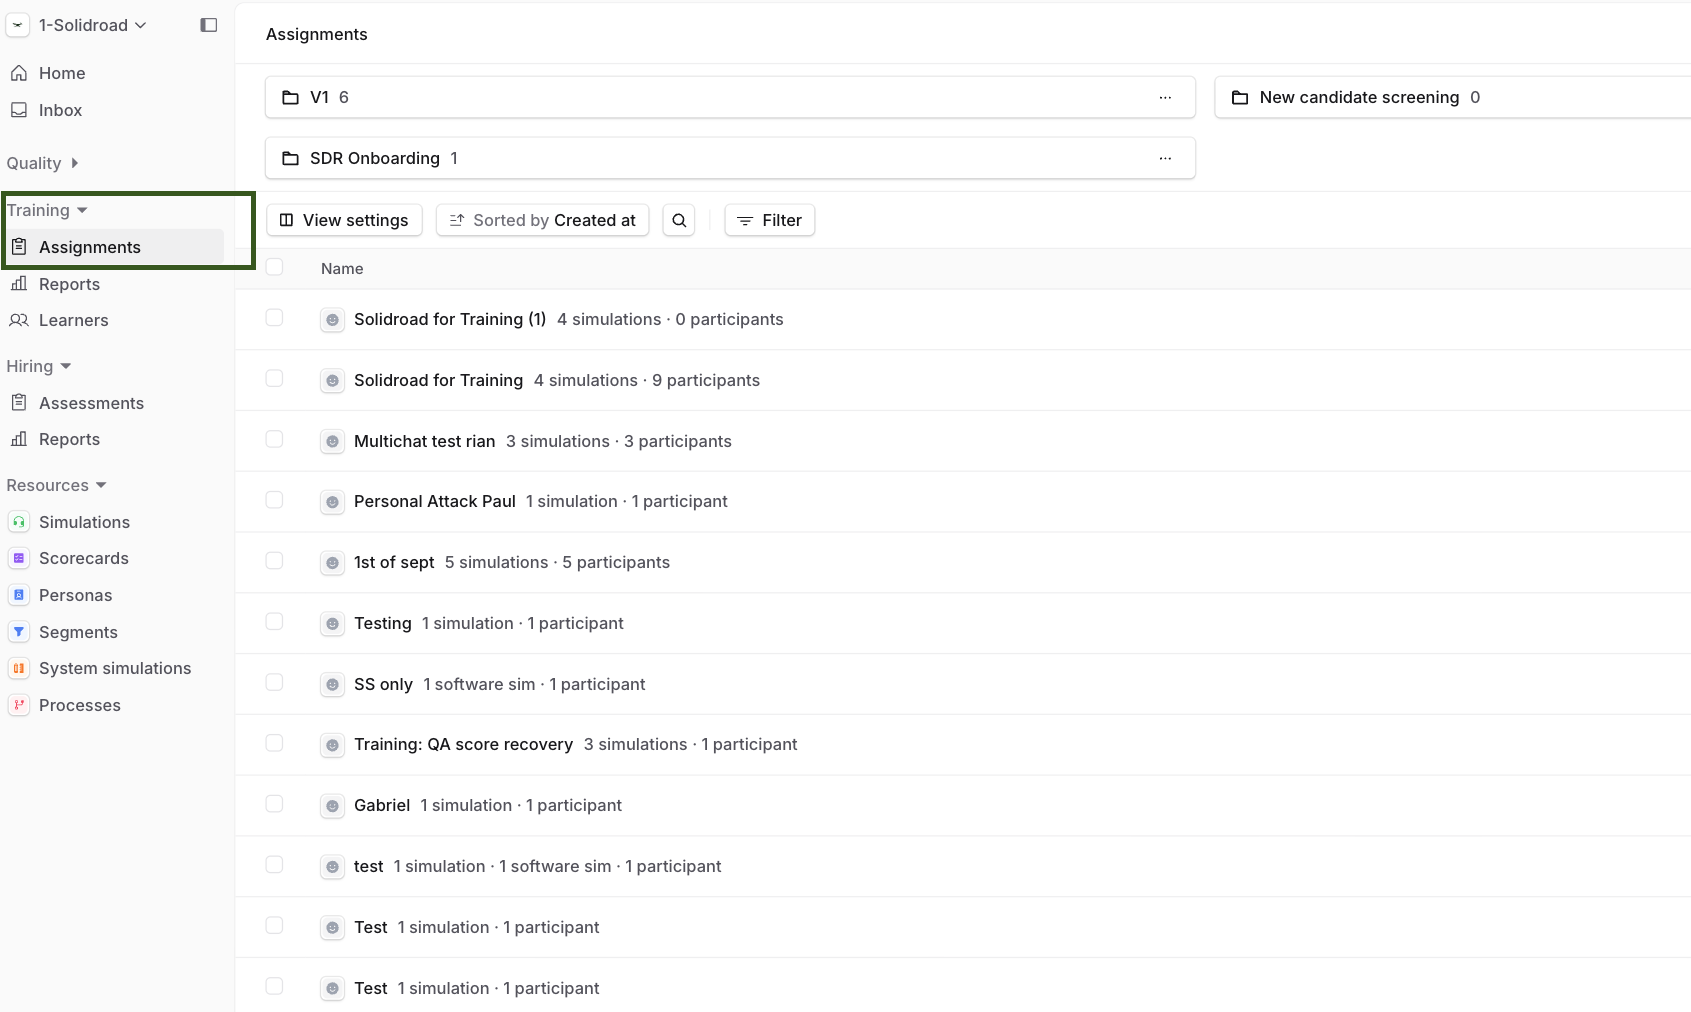
Click Training in the left menu, then Assignments. The page lists every assignment already created. You can add folders here to keep them organised.
2. Click Create
Click Create in the top right. The assignment creation page opens.
3. Fill in the assignment
Field | What it does |
|---|---|
Assignment name | The name learners see in their list. |
Due Date | Click the calendar icon and pick the date the assignment is due. |
Add instructions for learners | Optional notes with context or guidance that learners read before they start. |
Users | Type a learner’s name or pick from the list to assign to individuals. |
Groups | Click Add Group and pick one or more groups to assign to everyone in them. |
Learning content | Click Add Simulation, tick the simulations you want (you can pick more than one), then click Add. |
Certify learners | Turn the toggle on to issue an electronic certificate when a learner completes the assignment and meets the passing score. Enter the certifier’s name in Add Signatory; it appears as the Approver Name on the certificate. If you turn this on, set a passing score under Advanced settings. |
4. Set advanced settings (optional)
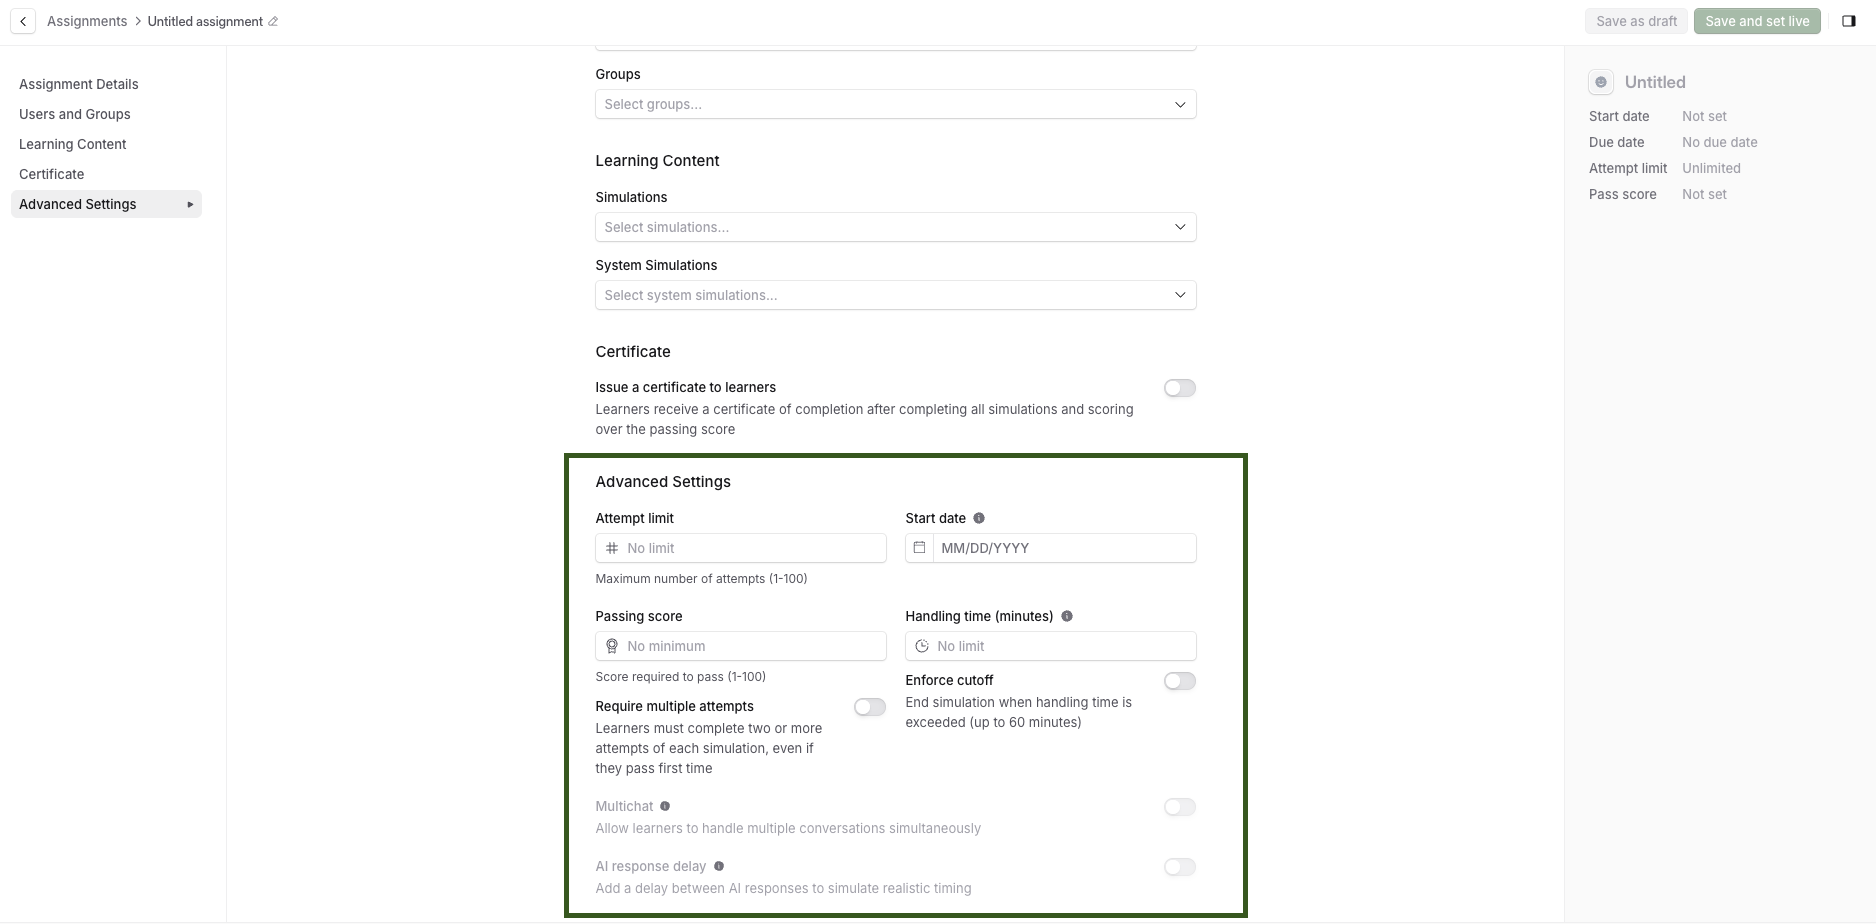
Scroll down to Advanced Settings to set a start date, attempt limit, passing score, handling time and other options. The start date decides which save options you see in the next step. Each setting is explained in How to set advanced settings for an assignment.
5. Save the assignment
The buttons at the bottom depend on the start date you set:
Save as draft saves the assignment and returns you to the Assignments list. Learners cannot see a draft.
Save and schedule appears when the start date is in the future. The assignment is saved with a scheduled status and goes live to learners on the start date.
Save and set live appears when the start date is today. The assignment is sent to the learners straight away.
Only a live assignment is visible to learners. An assignment left in draft or scheduled status does not appear in any learner’s list, and neither you nor the learner gets an error or a warning about it. If your team reports that they cannot see an assignment, open it from the Assignments page and check its status before anything else.
After you save
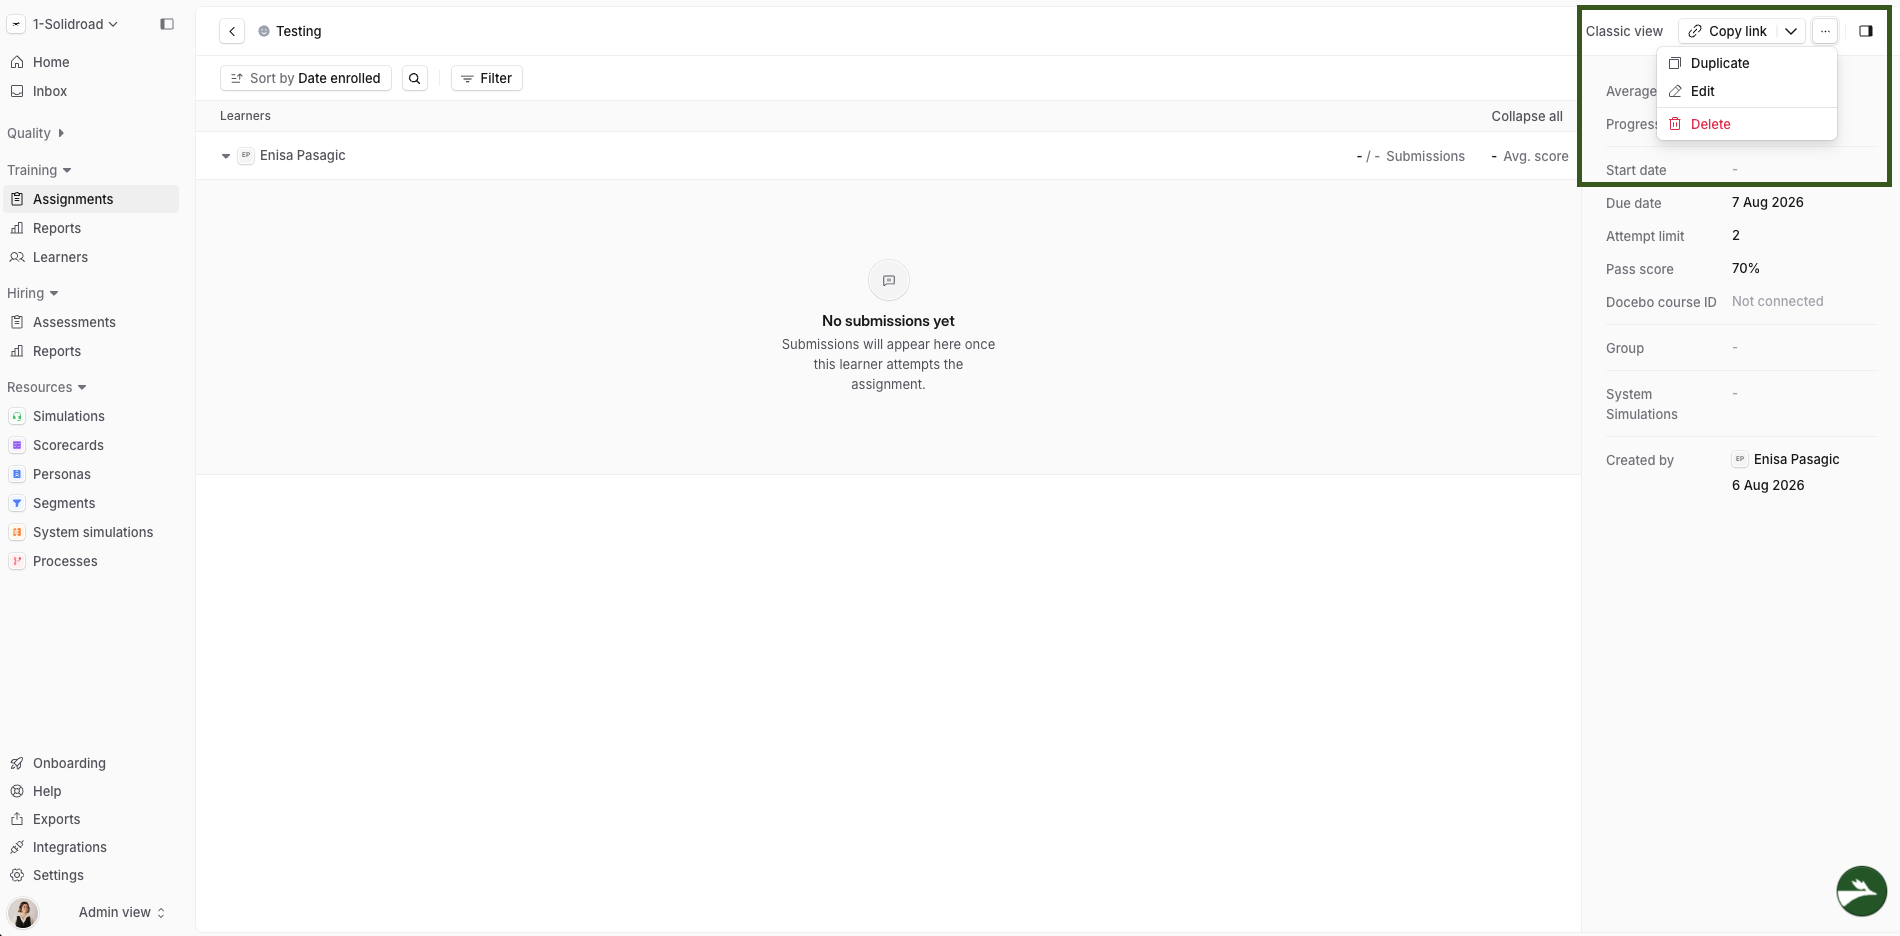
Every assignment, whether draft, scheduled or in progress, appears in the Assignments list with its status. Click one to open its detail page, where you can edit it, duplicate it, delete it or copy an invite link.
Related articles:
If you have any further questions, contact the Solidroad team via the Help tab in the platform.